
I run a small clothing label from a spare room, with a rail of samples along one wall and a steamer on the floor. When our first drop of twelve pieces was ready, I had no studio and no photographer booked. I needed seventy-two photos that looked like one shoot. No studio, no photographer, no lights, so I planned the whole thing around an AI photoshoot instead of a studio day.
I counted the shots first. That took a morning, because I kept losing count past forty, and only then did I pick the tool and sort the source photos. The first afternoon went to figuring out what I actually needed instead of making it. By four o’clock I had a list on the back of a delivery note.
Decide what the photos have to do
I wrote it all down at the kitchen table, on the back of a delivery note, because the notebook was upstairs. For a store listing I needed a front shot, a back shot, and a close look at the fabric. The lookbook page needed the full outfit. Instagram needed a tall crop. One piece came to six or seven images, and twelve pieces came to seventy-two. That number changed the plan. I stopped thinking about one garment at a time and started thinking in sets.
I crossed off three shots nobody would use, and that saved an afternoon. I wrote the list on paper and taped it to the rail, because my hands were full and the phone was doing the camera work. A note on the phone would have stayed in my pocket.
Pick the tool and build the shot list
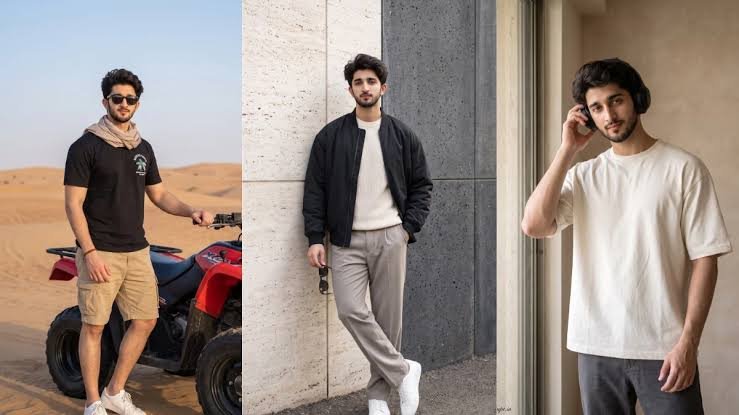
Then I looked for a tool that could build them. I spent an evening clicking through three or four of them. An AI photoshoot takes the photo of a garment and sets up the shots around it, so I picked from ideas, not prompts. I tried GenImagePro, because it left the garment alone — the cut, the print, and the buttons stayed as they were in my photo. I checked that the same model could stay across the drop, and that one shoot gave me every size I needed.
Then I wrote the shot list properly. Not in my head. Five lines for each garment. The list took an evening and saved the shoot. When it was ready, the work took an afternoon. The week before, without it, I spent days going back and forth about what to make.
Keep one look across the whole drop
The background, the light and the model stayed the same for every piece. On a store page, a jump from a beach to a grey wall to a bedroom looks messy. Shoppers notice it even if they cannot say why. When everything matches, nobody notices the background at all. I saved the setup once and ran the next garment through it.
Take one honest source photo
A flat lay on a clean sheet worked. A hanger against a plain wall worked. The crumpled shirt I shot in a dim corner did not work. No tool can guess the fabric from a photo like that. I shot in daylight near the window, the whole garment in the frame, and steamed each piece first so the creases would not read as faults. The steamer hissed for ten minutes on a linen shirt. It had been folded in a box for a month.



I checked the colours against the garment, because phone cameras warm things up. A blue that looks teal on screen will look teal to a buyer too. A plain background helped here. A busy one pulled the eye away and gave the tool more to untangle, so I cleared the rail and the ironing board out of the frame first.
What to fix before you upload
Before each upload I ran through a short check. Tags tucked in. Buttons done up. Lint rolled off. Sleeves straight. The lint roller lived on top of the rail by the second day. A tag sticking out of a collar shows up in every shot after it. The tool keeps what you gave it, so one tag becomes seventy-two.
Turn one shoot into a month of posts
One shoot had to feed more than the store page, since I could not do this weekly. The same on-model shot came out tall for stories, square for the grid, and wide for the site banner. A still became a short clip. A lifestyle shot carried a caption about the fabric or the fit, two lines I wrote while the kettle boiled. I planned those crops with the shoot, not after. Planning them later would have meant shooting the garment twice.
A coat I shot in autumn came back in winter with a new background. I did not have to unpack the rail again. The source photos sat in a folder, ready, and the shop changed around them anyway.
One still, three crops
From each set I took the best shot and made three versions. Tall for stories. Square for the feed. Wide for the website header. I checked each one first, because a crop can cut a sleeve or a shoe in a way the full shot never would. I learned that when a square crop cut a model’s shoe in half on the second day.
Conclusion
The list held the whole drop together. After that it was one honest photo, a tool that kept it true, and using every shot more than once instead of shooting the same garment twice. The next drop starts from that folder and list, and it should take less time. The rail is still in the hallway. The steamer is still on the floor. They will be needed again next month.