Ever feel like you’re wasting 30 minutes every day searching for teaching supplies?
Papers littering every desk and counter. Art supplies shoved in random drawers and cabinets. Student work strewn all over the place. After all, we all know that classroom organization affects:
- Teaching effectiveness
- Student engagement
And yet despite the best intentions, most teachers simply run out of time and end up throwing in the towel. It’s so much easier to live with the chaos, right?
Wrong. Because the simple storage solution that keeps teachers from drowning in their own supplies actually makes their jobs easier.
Oh, and cheaper too. Because when 94% of teachers spend their own money on classroom supplies, the last thing we need is to misplace them.
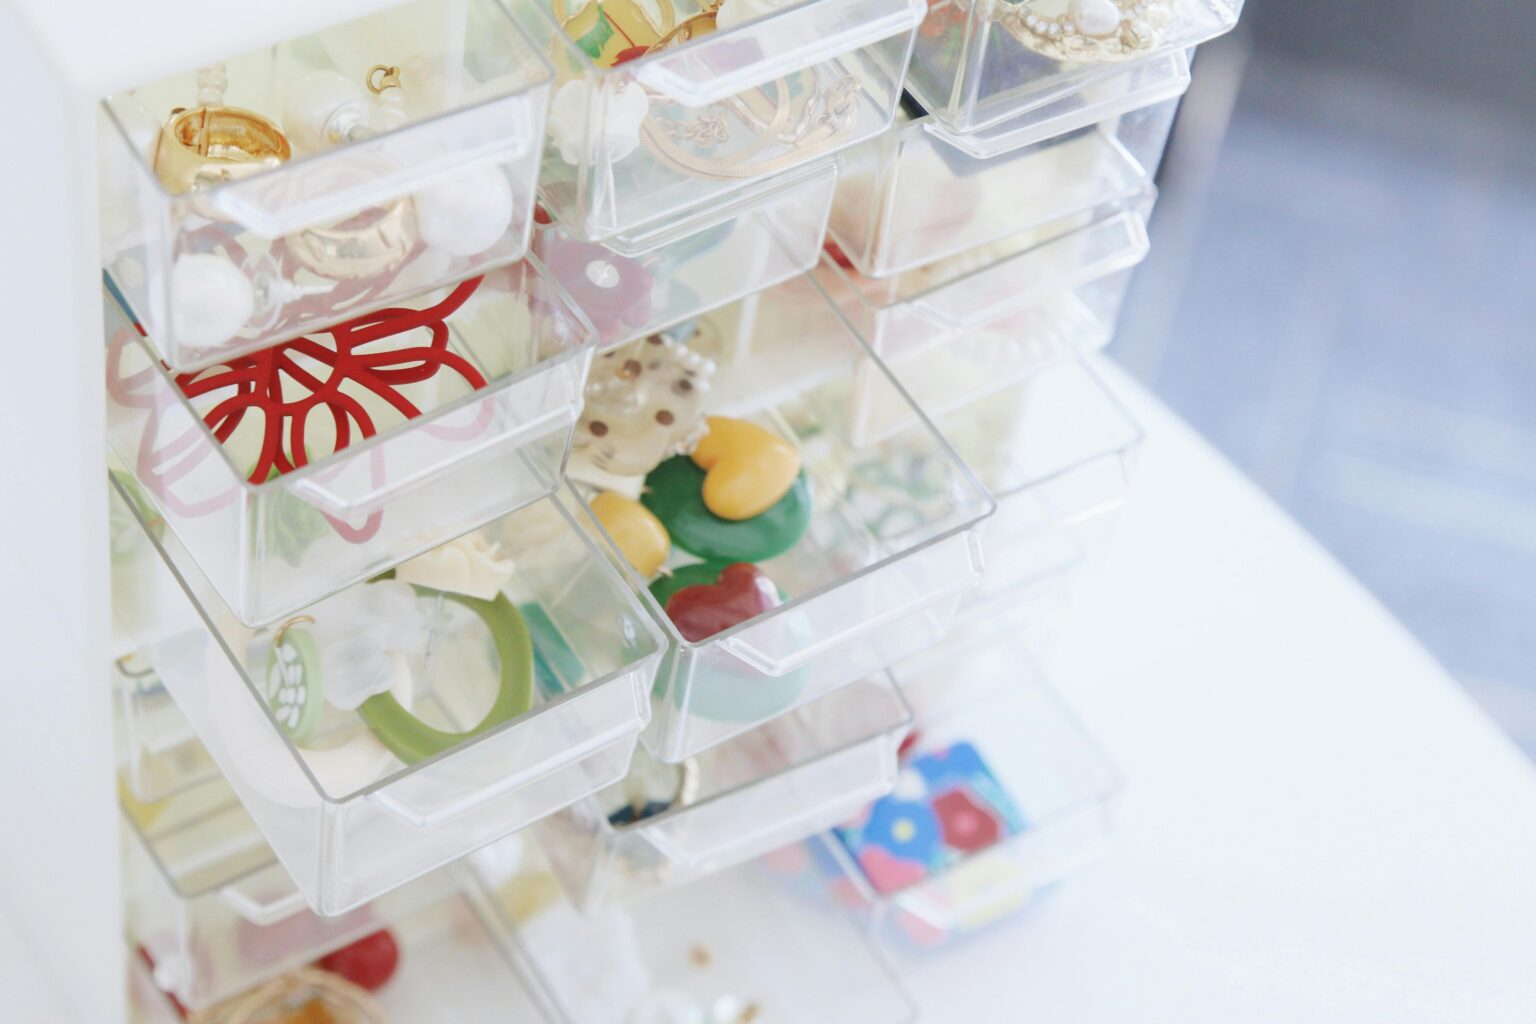
That’s where a good plastic tray storage system can change the game.
In this post, I’ll cover:
- Why classroom organization is more important than most teachers realize
- The storage solution that teachers actually use
- The easy way to set up plastic tray storage
- Common mistakes (and how to avoid them)
Why Classroom Organization Is More Important Than Most Teachers Realize
Classroom management is more than just student behavior.
It’s about being in command of the materials, the time, and the space so that learning can actually happen. When your teaching supplies are spread out all over the place and not properly organized, you’re wasting minutes every day that you could be using for instruction instead.


Think about it…
Every minute you spend digging around for markers or last week’s worksheets is one less minute you get to spend actually teaching. With 100% of teachers citing classroom management as one of the most important skills to learn, organization should be at the top of the list.
The problem is that most of the classroom chaos is created by one simple thing:
- Not having a home for everything
Papers pile up on the counters, desks, and chairs. Supplies multiply and get hidden in all different places. Student work gets mixed together in jumbles. Before long the whole room looks like a tornado went through it. But here’s the thing — this isn’t about being neat. It’s about being functional.
Teachers who have implemented successful school tray storage systems report saving hours of time every week. They know where all their materials are. Students can grab what they need independently of the teacher. And at the end of the day cleanup takes minutes instead of hours because everything has a place.
Pretty cool, right?
And the best part? Plastic tray storage systems don’t cost a fortune. In fact, when compared to constantly having to replace lost supplies or buying new organizational systems that don’t work, plastic tray storage actually saves money in the long run.
The Storage Solution Teachers Actually Use
Let me explain how plastic tray storage is different…
Instead of cardboard boxes that fall apart and tear, or fabric bins that sag and lose their shape, plastic trays are durable enough to last for years. They stack beautifully, they’re easy to label, and they provide visual order in otherwise chaotic spaces.
Here’s how it works:
Teachers can organize by subject, by student, or by activity type. Math manipulatives in one set of trays, reading materials in another set of trays, student portfolios in yet another set of trays. This system is highly customizable to scale with any classroom size or teaching style.
And the real magic…
Plastic trays make it easy for students to have ownership over their supplies. When each student has their own tray, they know exactly where their work belongs. There’s no more “I turned it in!” arguments. No more lost homework assignments. Everything has its own place.
Setting up the system
The setup process is actually way simpler than most teachers think.
It starts with categorizing your materials:
- Student work and portfolios
- Craft supplies and art materials
- Math manipulatives and tools
- Reading resources and books
- Teaching supplies and lesson materials
Once the categories are clear, plastic tray storage provides natural homes for each type of material. Color coding also helps (blue trays for math, red for reading, green for science, etc.). Students pick up the visual system quickly.
But don’t make the mistake of over-organizing right out of the gate. Start small with the most chaotic categories. Get those organized and under control, then branch out and expand as needed.
The student independence factor
Surprise surprise… this is something that many new teachers don’t realize:
Good storage systems don’t just organize supplies, they teach students independence and responsibility. When materials are accessible and clearly labeled, even young students can learn to manage their own supplies.
Which means less “Teacher, where’s my…” and more self-directed learning. Students spend less time waiting around and more time actively working. The classroom environment runs more smoothly because everyone knows where everything is.
And for teachers with multiple classrooms to manage? Pure game changer. Each class gets designated trays that get rotated in and out of the classroom. Setup and cleanup become streamlined processes instead of daily battles.
Common Mistakes (And How To Avoid Them)
Here’s the one critical mistake most teachers make when it comes to classroom storage…
Buying storage containers without having a plan. Random bins and boxes are more chaotic than helpful. The key is to think through the workflow first, then select storage that supports that workflow.
So here’s what to avoid:
- Mixing incompatible materials in the same tray.
- Putting wet paint supplies next to paper.
- Keeping similar items together.
- Choosing trays that are too small.
- Cramming supplies into tiny bins and spaces.
- It’s better to have fewer, larger trays than many overcrowded smaller ones.
- Forgetting about accessibility.
- Stacking trays too high that they become unreachable.
- Keep frequently-used materials at students’ height.
- Less-used items can be up top.
- Skipping labels.
- Even the most well-designed system will fail without clear labeling.
- Use words AND pictures for young students.
- Be specific with labels. “Colored Pencils” not just “Art Supplies.”
Maintenance is key
One of the most important parts of this system is maintenance.
Build cleanup into daily routines. The last 5 minutes of class become “organizational time.” Students return materials to trays, teachers do a quick scan and walk-through. Tomorrow starts organized rather than chaotic.
Here’s a pro tip:
Photograph your organized trays. When the inevitable mess happens (it will), use your photos to show students exactly how things should look. They can reference the pictures. Substitute teachers can use them as well. It’s a visual reset button for the whole system.
Making it last
The difference between a system that works and a system that fails? Consistency.
Plastic tray storage solutions can be brilliant — but only when teachers and students commit to using the system. The first few weeks will require teaching and reinforcing. After that, it becomes second nature.
And trust me…the payoff is worth it…
Less time organizing = more time teaching. Fewer lost materials = less money out of pocket. Better organization = calmer, more productive classroom environments where real learning takes place.
So think about what you could do with that extra 30 minutes every day. That’s what good storage systems create — time. Time to plan better lessons. Time to work with struggling students. Time to actually enjoy teaching instead of drowning in paper clutter.
Think about smart storage decisions as long-term investments in your classroom sustainability.
The question isn’t “should I organize?” The question is “do I want to keep fighting chaos with temporary fixes, or do I want to build a system that works year after year?”
Choose wisely. Your future self will thank you.