In the world of permanent makeup and tattoo artistry, the ink you choose can make or break your career. A single session with subpar pigment can lead to faded results, unhappy clients, and a reputation that’s difficult to rebuild. For new tattoo artists entering this competitive field, the challenge runs deeper than selecting a vibrant color palette. The real struggle lies in finding the best PMU ink that delivers consistent, safe results within a fully sanitary setup—one that protects both the artist and the client from contamination and infection.
- The Critical Role of PMU Ink in Tattoo Artistry
- Building a Sanitary Setup: Foundations for Safe Tattooing
- Evaluating PMU Ink: Color Stability and Professional Standards
- Must-Have Professional Tattoo Supplies for New Artists
- Step-by-Step Guide to Choosing and Using the Best PMU Ink
- Building a PMU Practice Rooted in Quality and Safety
If you’re an aspiring PMU artist navigating the overwhelming landscape of professional tattoo supplies, this guide is built for you. We’ll walk through everything from understanding ink formulations and color stability to establishing hygiene protocols that meet industry standards. By the end, you’ll have a clear framework for selecting inks that complement your artistry goals while maintaining the sanitary practices that clients expect and regulators demand. Let’s dive into the details that separate amateur setups from professional studios.
The Critical Role of PMU Ink in Tattoo Artistry
PMU ink serves as the foundation of every permanent makeup procedure, directly determining whether a client walks away with natural-looking brows, defined lips, or seamless eyeliner that holds its integrity over time. Unlike traditional tattoo inks designed for body art with bold, deep saturation, PMU pigments are formulated specifically for facial work—they use smaller particle sizes, lighter concentrations, and are engineered to interact with the delicate dermal layers of the face. This distinction matters enormously for artists building their practice, because using the wrong ink category can produce harsh, unnatural results that damage client trust.
The best PMU ink impacts every stage of the client experience. During application, quality pigments flow consistently through the needle, allowing precise strokes without clogging or bleeding. During healing, well-formulated inks retain their intended hue rather than shifting to unwanted warm or cool tones. Over the long term, superior pigments fade gracefully and evenly, rather than turning patchy or discolored. For new tattoo artists, starting with reliable ink eliminates one major variable from the learning process, allowing you to focus on technique development rather than troubleshooting unpredictable pigment behavior.
Why Ink Quality Matters for New Tattoo Artists
Beginning artists face a steep learning curve where every tool either supports or hinders their progress. Cheap or poorly manufactured inks introduce inconsistencies that make it nearly impossible to develop steady hand skills—if the pigment deposits unevenly regardless of technique, you cannot accurately assess your own improvement. Worse, low-quality inks may contain unregulated ingredients that trigger allergic reactions or infections, creating liability issues before your career even gains momentum. Investing in reputable pigments from the start builds a foundation of predictable results, giving you the confidence to refine your craft while maintaining the sanitary practices that protect your clients and your professional standing.
Building a Sanitary Setup: Foundations for Safe Tattooing
A sanitary setup isn’t merely a regulatory checkbox—it’s the infrastructure that protects your clients from bloodborne pathogens, prevents cross-contamination between appointments, and signals to every person who enters your workspace that you take their health seriously. For new tattoo artists, establishing rigorous hygiene protocols from day one prevents the dangerous habit of cutting corners that becomes harder to correct later. Clients increasingly research studios before booking, and visible sanitation practices often determine whether someone commits to an appointment or walks away.
The foundation of any sanitary setup begins with understanding how contamination occurs during PMU procedures. Every time a needle penetrates skin, it creates a pathway for bacteria and viruses to enter the body. Ink, equipment surfaces, your hands, and even airborne particles become potential vectors. Regulatory bodies like OSHA in the United States and local health departments impose specific standards covering everything from surface materials to waste handling. Most jurisdictions require non-porous work surfaces, single-use disposable items wherever possible, hospital-grade disinfectants, and documented sterilization cycles for reusable tools. Familiarizing yourself with your local regulations before opening your practice isn’t optional—it’s a legal requirement that carries penalties for non-compliance, including studio closure and personal fines.
Beyond compliance, a well-designed sanitary setup actually improves your workflow. When every item has a designated clean zone and contaminated zone, you spend less time second-guessing whether something is safe to use and more time focused on delivering exceptional artistry. This organizational clarity reduces stress during procedures and builds the muscle memory that experienced artists rely on.


![Pragmatichoki22 .com | Complete Information [2026]](https://reelsmedia.co.uk/wp-content/uploads/2026/02/prog-330x220.png)
Essential Sanitary Practices Every Artist Must Know
Start every session with thorough hand washing using antimicrobial soap for at least twenty seconds, followed by donning fresh nitrile gloves—latex alternatives exist for clients with allergies, but nitrile offers superior puncture resistance. Change gloves any time you touch a non-sterile surface, including your phone, light adjustments, or reference photos. Barrier film should cover your machine, cord, clip cord connections, work tray, and any surface you might contact during the procedure. These adhesive plastic covers are inexpensive and disposable, creating a physical shield between contaminated surfaces and clean ones.
Proper waste disposal requires separating sharps (needles, cartridges) into puncture-resistant biohazard containers, while blood-soaked materials go into designated red bags for regulated medical waste pickup. Never dispose of these items in standard trash. For your workspace, wipe all hard surfaces with EPA-registered disinfectants between clients, allowing the required wet contact time—usually two to ten minutes depending on the product—before the next setup. Implement a daily deep-cleaning routine that includes floors, door handles, and light switches. Finally, maintain a sterilization log documenting autoclave cycles for any reusable tools, recording date, time, load contents, and spore test results. This documentation protects you legally and demonstrates professionalism during health inspections.
Evaluating PMU Ink: Color Stability and Professional Standards
Color stability stands as perhaps the single most important technical factor when evaluating PMU inks, because it determines how your work looks not just on day one, but months and years after the procedure. A pigment with poor stability might appear perfect during application, only to shift dramatically during healing—warm browns turning orange, cool blacks fading to blue-gray, or lip tints migrating toward unnatural purple hues. These shifts occur when pigment particles break down unevenly under the skin, with certain color components being absorbed by the body faster than others. For new artists, understanding this phenomenon prevents the frustrating experience of delivering what seems like flawless work, only to receive photos weeks later showing unexpected color changes.
Beyond aesthetics, ink evaluation must include safety certifications and ingredient transparency. Look for pigments that comply with EU Resolution ResAP(2008)1 standards or carry documentation showing they meet FDA guidelines for cosmetic colorants. These frameworks restrict heavy metals like mercury, cadmium, and lead, along with azo dyes known to release carcinogenic amines when broken down by UV exposure. Reputable manufacturers publish complete ingredient lists and batch testing results, including sterility certificates for each production run. If a brand cannot provide this documentation upon request, consider it a red flag regardless of how popular the product appears on social media. Your professional tattoo supplies should form a cohesive toolkit where every component—from machine to pigment—meets verifiable quality standards that protect both your artistry and your clients’ health.
How to Test for Color Stability in PMU Inks
Practical testing begins before you ever use a new ink on a client. Start by requesting sample sizes from manufacturers and performing controlled swatch tests on practice skin—synthetic latex pads designed to mimic dermal tissue. Apply the pigment using your standard technique, then photograph the swatches under consistent lighting at one-hour, twenty-four-hour, and one-week intervals to observe any immediate oxidation shifts. Compare your results against the manufacturer’s published color charts to verify accuracy. Additionally, review independent artist forums and training communities where practitioners share healed results at thirty, sixty, and ninety-day marks. Patch testing on a small area of a willing model’s skin provides the most realistic data, revealing how the pigment interacts with living tissue, immune response, and natural skin undertones. Document everything meticulously—these records become your personal reference library for predicting how each ink behaves across different skin types and application depths.
Must-Have Professional Tattoo Supplies for New Artists
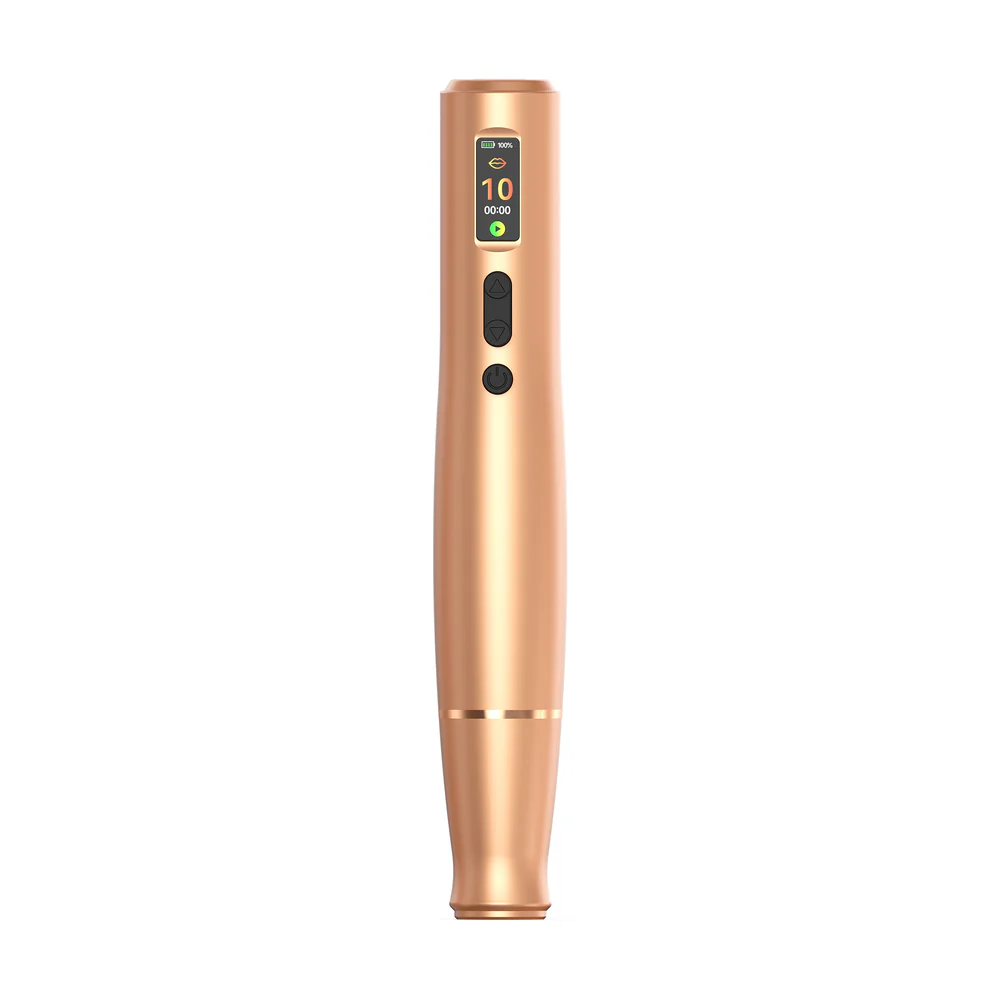
Building a complete toolkit goes far beyond selecting the best PMU ink—every component in your workspace either supports or undermines your sanitary setup and artistic output. Your machine is the engine of your practice, and for beginners, a reliable pen-style rotary device offers the most forgiving learning experience with consistent needle depth control and minimal hand fatigue during long sessions. Pair it with high-quality disposable cartridge needles in various configurations: round liners for hair strokes, shaders for soft powder effects, and flat needles for lip work. Each cartridge should come individually sealed and sterilized, with clear expiration dates printed on the packaging.
Beyond the machine, your sanitary setup demands barrier films, disposable ink cups, medical-grade nitrile gloves, and EPA-registered surface disinfectants. Aftercare products you recommend to clients—typically fragrance-free healing balms or specialized PMU recovery creams—also reflect your professionalism and directly affect how well your ink retains its color during the healing phase. When sourcing professional tattoo supplies, prioritize vendors who provide batch documentation, maintain consistent stock availability, and offer educational resources alongside their products. Brands like Biomaser have become recognized among PMU artists for offering comprehensive starter kits that bundle essential supplies—from pigments to cartridges—at accessible price points without compromising on safety certifications. For budget-conscious beginners, resist the temptation to save money on disposables or safety items. Instead, look for starter kits from reputable distributors that bundle essential supplies at reduced rates without compromising quality. Building relationships with reliable suppliers early ensures you never face the pressure of using questionable products simply because your preferred items are out of stock.
Step-by-Step Guide to Choosing and Using the Best PMU Ink
Selecting the best PMU ink becomes manageable when you approach it as a systematic process rather than an impulse purchase based on trending brands. The journey starts with honest self-assessment: identify the procedures you plan to offer, the skin types you’ll most frequently encounter, and the aesthetic style that defines your work. An artist specializing in natural microblading brows needs different pigment properties than someone focused on bold lip blush or scalp micropigmentation. Once you’ve clarified your niche, you can narrow the field to inks specifically engineered for those applications, eliminating the overwhelm of browsing hundreds of products without clear criteria.
After selecting your inks, integrating them into a sanitary workflow requires deliberate planning. Every bottle of pigment becomes a potential contamination source the moment it enters your procedure space, so handling protocols must be established before your first client sits down. Think of ink management as a chain of custody—from storage conditions to dispensing methods to post-session disposal—where each link must remain unbroken to preserve sterility. This disciplined approach not only protects clients but also extends the shelf life of your pigments and ensures consistent performance across sessions. Ongoing maintenance includes regular inventory checks for expiration dates, monitoring storage temperatures, and scheduling client consultations where you discuss pigment options and conduct patch tests well before the actual procedure date.
Researching and Selecting the Best PMU Inks
Begin your research by identifying three to five established brands with documented track records in the PMU community—not just social media visibility, but verified healed results shared by multiple independent artists. Evaluate each brand against specific technical criteria: pigment concentration determines how many passes you’ll need for adequate saturation, with higher concentrations requiring fewer passes but demanding more precise technique. Viscosity affects how the ink flows through your cartridge system—too thin and it spreads beyond your intended stroke, too thick and it clogs during application. Check whether the brand offers a comprehensive color range with clearly labeled undertones, since mixing pigments from different manufacturers can produce unpredictable chemical interactions. Read batch-specific safety data sheets, verify compliance certifications, and order sample sizes before committing to full bottles. Cross-reference your findings with artist training communities where practitioners discuss real-world performance across diverse skin tones, healing environments, and seasonal conditions that affect retention.
Implementing a Sanitary Ink Handling Protocol
Proper ink handling begins with storage: keep all pigment bottles in a cool, dry location away from direct sunlight, ideally between fifteen and twenty-five degrees Celsius, and never in a refrigerator unless the manufacturer explicitly recommends it. Before each session, inspect bottles for any signs of separation, discoloration, or compromised seals—discard anything that appears contaminated without hesitation. When dispensing, never insert a needle or any tool directly into the original bottle. Instead, shake the bottle thoroughly to redistribute settled particles, then dispense small amounts into single-use sterile ink cups immediately before the procedure begins. Use a fresh cup for each color and each client without exception. During the procedure, position ink cups within your designated clean zone and avoid reaching over open containers with contaminated gloves. After the session concludes, dispose of all remaining ink in the cups—never pour unused pigment back into the original bottle, as this introduces biological material into your stock supply. Wipe bottle exteriors with appropriate disinfectant, return them to storage, and document the batch numbers used in each client’s file for traceability in case of adverse reactions.
Building a PMU Practice Rooted in Quality and Safety
Choosing the best PMU ink isn’t a single decision—it’s an ongoing commitment to quality, safety, and professional growth that defines your entire career trajectory. The artists who thrive in this industry are those who refuse to compromise on color stability, ingredient transparency, and compliance with established safety standards. They pair exceptional pigments with a rigorous sanitary setup that eliminates contamination risks at every touchpoint, from ink storage through dispensing to post-procedure disposal.
As a new tattoo artist, you now have a clear framework for building your practice on solid ground. Start by researching reputable ink brands with verified healed results, establish non-negotiable hygiene protocols before your first client appointment, and invest in professional tattoo supplies that support both your artistry and your clients’ wellbeing. Remember that mastery in this field comes through consistent practice paired with reliable tools—not shortcuts. Continue educating yourself through training communities, manufacturer resources, and hands-on experimentation with practice skin. The standards you set today become the reputation you carry tomorrow. Take the steps outlined in this guide, implement them with discipline, and you’ll build a PMU practice that clients trust and competitors respect.