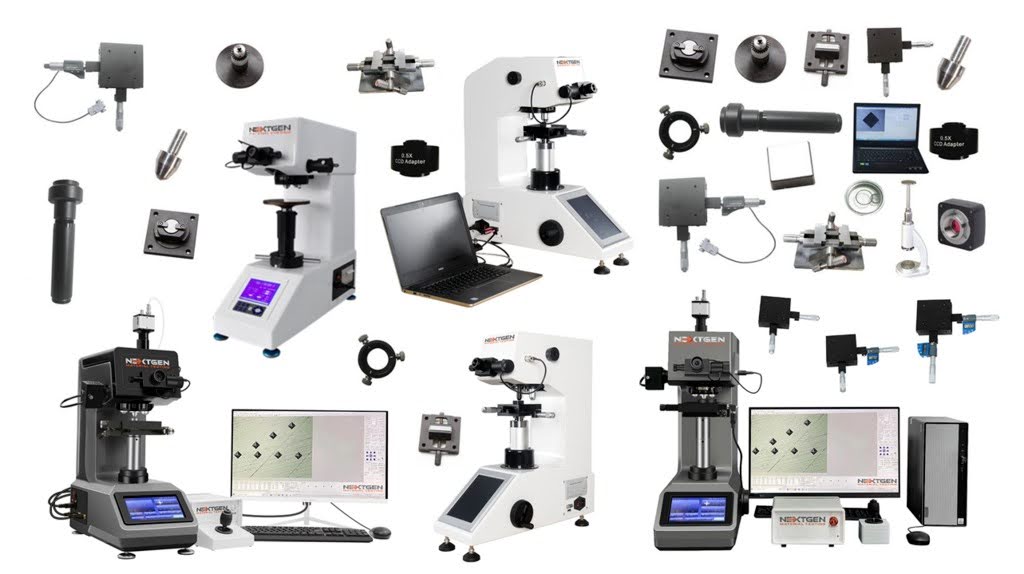
Hardness checks happen in two places: out in the field and inside the lab. Field teams need fast reads on large structures without cutting samples. Lab staff need tight control, traceable references, and records that stand up in audits. The tools reflect those goals. Portable hardness testing solutions screen parts where they sit. Benchtop hardness testing systems produce numbers used for acceptance and sign-off.
Methods differ as well. In the field, Leeb rebound follows ASTM A956 and reads surface response. UCI under ASTM A1038 uses a vibrating probe that suits thinner sections and small features. In the lab, Rockwell under ASTM E18 is the workhorse for production checks. Brinell under ASTM E10 handles coarse or inhomogeneous structures. Vickers and Knoop under ASTM E92 reach from micro to macro with optical reads. Conversions between scales exist, but they are approximate and tied to material and process. They help with screening, not with meeting a named method.
Where Portable Testers Make Sense
Field screening favors access, speed, and minimal disruption. Heavy fabrications, installed components, weld zones, heat-treated shafts, and large castings are typical targets because moving them is slow and costly. Portables answer a practical question early: is this area close to the expected hardness range before we spend more time and money. The workflow is simple when conditions are right, and it gives maintenance and QA a quick read to plan the next step.
Leeb devices measure rebound at the surface, so mass and coupling matter. Thin or flexible parts can absorb impact energy and depress the number, while rough or curved faces scatter the signal. Light surface prep, firm seating, and a solid backer improve repeatability. Curvature, coatings, and near-edge locations should be documented because they can shift results. Crews often standardize impact direction and count per spot to keep variation in check.
UCI probes read a frequency shift under a light load, which suits thinner sections and small features where rebound struggles. They can touch narrow fillets, gear teeth, and local heat-treated zones without a large footprint. Even so, surface finish and probe tip condition still matter, and magnetization can disturb the signal on some steels. Good practice is to set clear guardrails on thickness, mass, coupling, roughness, and magnetization before testing begins.
Recordkeeping closes the loop. Log the probe or impact device, the support method, temperature, location on the part, and any surface prep. Repeat those conditions when you recheck a spot weeks later, and the numbers will compare cleanly across shifts and crews. With this discipline, portable hardness testing solutions provide reliable screeners for route decisions and weld triage in the field.
What Benchtop Systems Deliver
Labs turn to frames when a specification or purchase order names the method and scale. Rockwell handles fast production checks on defined scales with depth-based reads. Brinell applies a large carbide ball and high force, which averages coarse or inhomogeneous structures. Vickers and Knoop span micro to macro ranges with optical measurement, so case depth and weld HAZ can be mapped point by point. Closed-loop force control and stable mechanics keep loads, dwell, and indenter geometry within tight limits.
Sample preparation drives repeatability. Flat, clean faces reduce tilt and optical error. Minimum thickness rules prevent anvil influence, and spacing rules avoid interactions between nearby indents. Decarburized layers and coatings can depress or inflate readings, so a light grind or polish is often logged before the run. Microhardness work benefits from rigid staging, consistent focus, and automated steps that hold dwell and traverse speed.
Verification holds the numbers together. Certified blocks are checked on the same scale and range used for parts, and diamonds or balls are replaced when wear appears. Many frames track temperature, verification dates, and operator IDs in the report. When field checks need a final call, benchtop hardness testing systems anchor correlations and settle disputes. Teams build alloy-specific links from portable readings to lab scales, then confirm acceptance on the bench before release.
Methods and Reporting at a Glance
Portable routes center on two families. Leeb rebound (ASTM A956) measures surface response with impact devices like D or G. Ultrasonic contact impedance, UCI (ASTM A1038), uses a Vickers diamond and a frequency shift under a light load. Lab work follows depth- or optics-based methods: Rockwell (ASTM E18) with diamond or ball indenters and defined minor and major loads; Brinell (ASTM E10) with 1–10 mm balls at high force; Vickers or Knoop (ASTM E92) with pyramidal diamonds across micro and macro ranges. Match the route to the part, then select portable hardness testing solutions or bench frames that can hold those settings steady.
Reports should be read the same way every time. Rockwell uses lettered scales such as HRC or HRB, with the indenter and load family clear in the notes. Brinell reports HBW with ball size and force, plus dwell and imprint diameter rules. Vickers and Knoop report HV or HK with the applied load, optics, and spacing recorded. Leeb reports HL and, when a specification allows, may include a conversion. Conversions are approximate and material-specific; when needed, programs cite the table used, typically ASTM E140, and limit it to the alloys and heat-treat paths validated in the lab. Consistent fields—route, scale, load, dwell, indenter, surface prep, location, and temperature—keep results comparable across lots and audits.
Choosing for Your Program
Start with the document that governs the part. If it names a method and scale, plan a bench route and lock the indenter, forces, dwell, and block set. If the task is triage on installed assets, plan a portable route and check mass, thickness, surface prep, and how the part will be supported. Write these choices into a short method sheet so crews can repeat them.
Many programs use both paths. Portables guide quick field decisions, while the bench confirms the number that goes on the report. Keep one reporting family inside a single program, and log setup details the same way every time. With that package in place, your screens stay quick and your reports stay solid.


