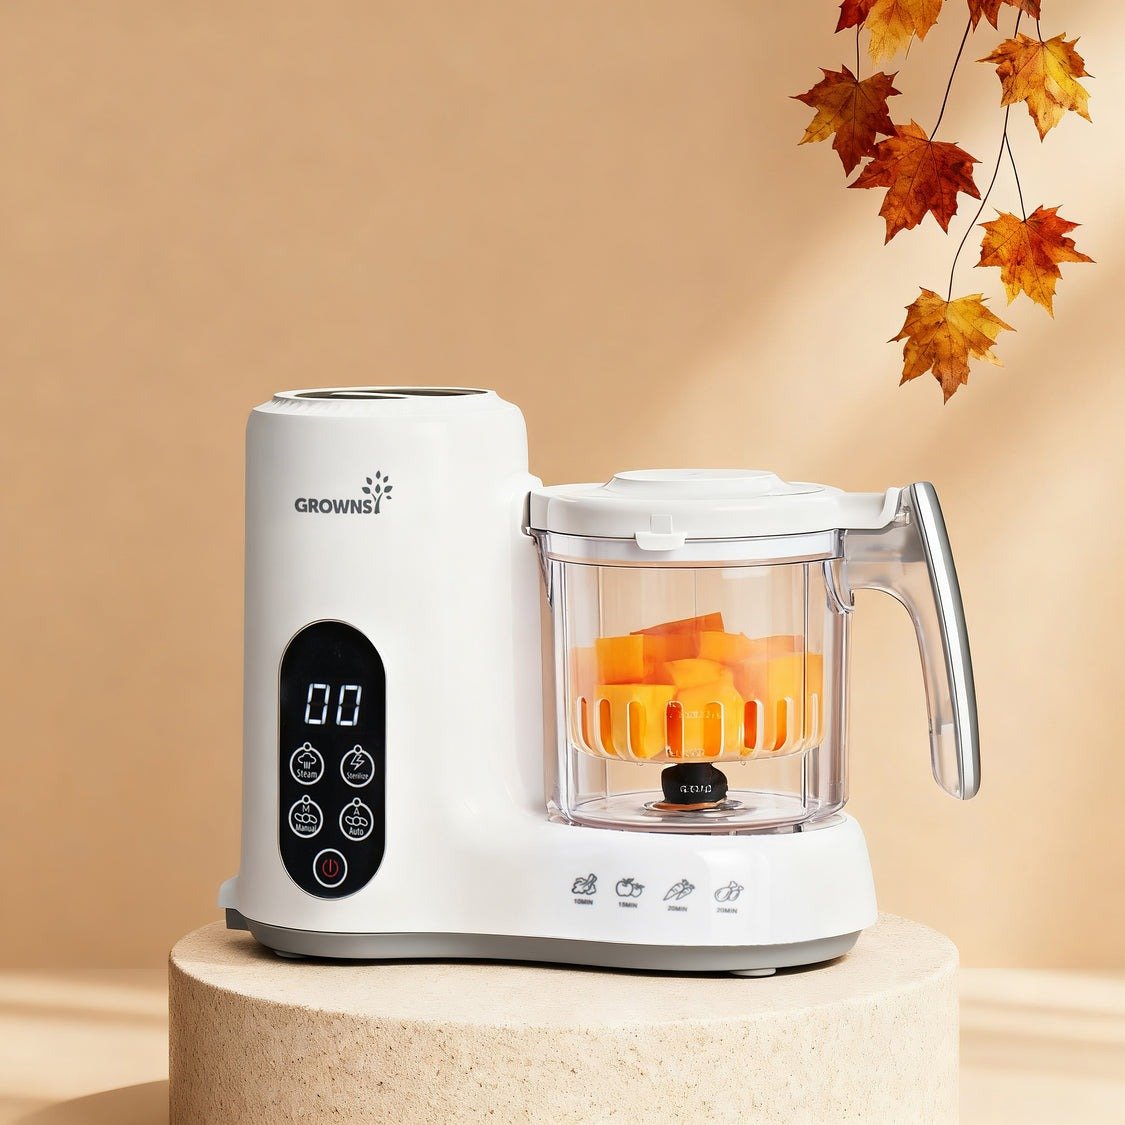
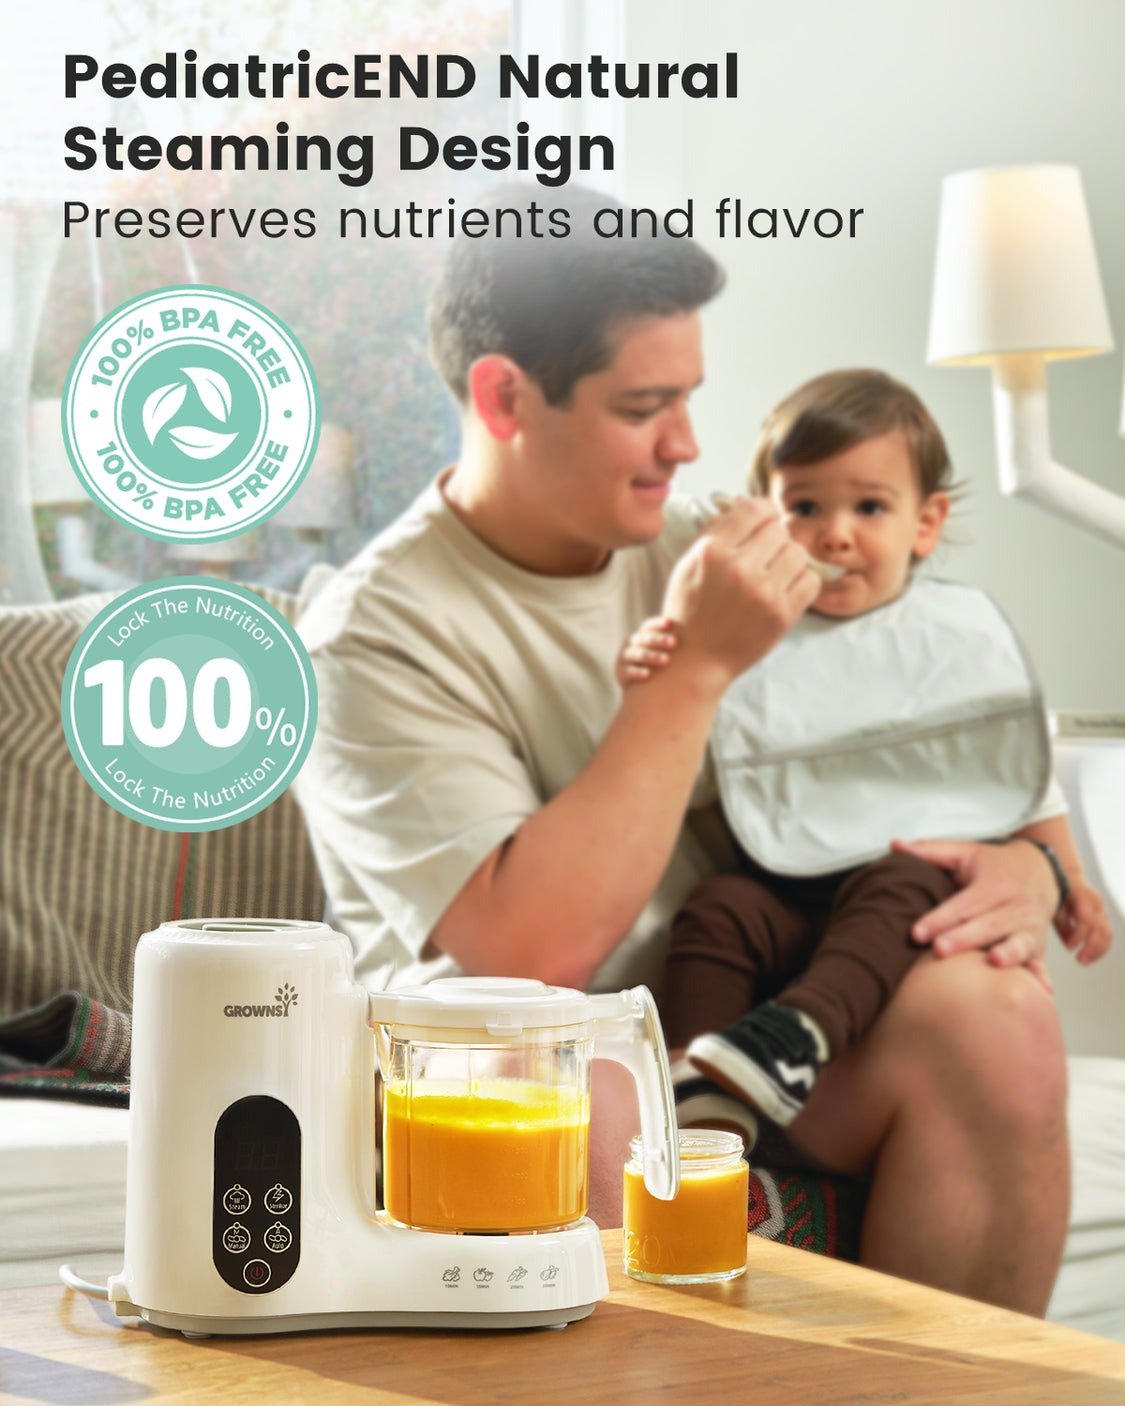
Baby food makers have become essential kitchen companions for parents who want to prepare fresh, nutritious meals for their little ones. These convenient appliances steam and blend ingredients in minutes, but keeping them clean is crucial for your baby’s health and the device’s longevity. Proper cleaning prevents bacterial growth, removes food residue, and ensures every meal is safe and fresh. Many parents struggle with stubborn stains, lingering odors, and mineral buildup that can affect both performance and hygiene. Understanding the right cleaning techniques will save you time and frustration while extending your appliance’s lifespan. Whether you’re dealing with daily maintenance or tackling tough buildup, knowing how to clean your baby food maker efficiently makes meal preparation smoother and safer. This guide will walk you through everything from quick daily cleaning routines to deep cleaning methods that restore your device to like-new condition, helping you maintain a hygienic food preparation environment for your baby.
Common Cleaning Methods
Daily cleaning after each use forms the foundation of baby food maker maintenance. Start by unplugging the device and allowing it to cool completely before disassembly. Remove all detachable parts including the blending bowl, blade assembly, steaming basket, and water reservoir. Rinse these components immediately under warm running water to prevent food from drying and sticking. Use a soft sponge with mild dish soap to gently scrub each piece, paying special attention to crevices where puree can hide. The blade assembly requires careful handling—hold it by the plastic base rather than the sharp edges while cleaning thoroughly around the blades with a small brush or old toothbrush.
For the main unit housing the motor, never submerge it in water. Instead, wipe down the exterior and interior surfaces with a damp cloth, ensuring no moisture enters the electrical components. Clean the heating plate at the bottom where water sits during steaming, as this area accumulates mineral deposits quickly. A mixture of equal parts water and white vinegar on a soft cloth effectively removes light residue without damaging surfaces. Most removable parts are dishwasher-safe on the top rack, but hand washing extends their lifespan and prevents warping from high heat. After washing, dry all components thoroughly with a clean towel or let them air dry completely on a drying rack before reassembling. This prevents moisture from becoming trapped, which could lead to mold growth or unpleasant odors. Regular daily cleaning takes only five to ten minutes but dramatically reduces the need for intensive deep cleaning sessions later.
Deep Cleaning Techniques
Even with consistent daily maintenance, baby food makers benefit from thorough deep cleaning every two to four weeks to address mineral deposits, stubborn stains, and hidden residue. Begin the descaling process by filling the water reservoir with equal parts white vinegar and water. Run a complete steaming cycle without any food, allowing the acidic solution to break down calcium and lime buildup on the heating element and internal pathways. After the cycle completes, let the mixture sit for fifteen to twenty minutes while still warm to maximize effectiveness. Discard the vinegar solution, then run two full cycles with plain water to rinse away any residual vinegar taste or smell that could affect future meals.
For persistent stains on plastic components, create a paste using baking soda and water, applying it directly to discolored areas. Let this natural abrasive sit for ten minutes before scrubbing gently with a soft brush in circular motions. This method works particularly well on carrot and tomato stains that resist regular washing. Alternatively, soak stained parts in a solution of one tablespoon baking soda per cup of warm water for thirty minutes before washing normally. To eliminate lingering odors trapped in plastic, wipe all surfaces with lemon juice or place components in direct sunlight for several hours, as UV rays naturally neutralize smells. For the blade assembly, use a small bottle brush or pipe cleaner to reach tight spaces where food particles accumulate. Check rubber seals and gaskets carefully during deep cleaning, removing them if possible to clean underneath where moisture and food debris often hide. Replace any seals showing signs of mold, cracking, or deterioration to maintain proper function and hygiene. After deep cleaning, sanitize all removable parts by soaking them in a solution of one teaspoon unscented bleach per gallon of water for two minutes, followed by thorough rinsing and complete air drying. This quarterly deep cleaning routine keeps your baby food maker performing optimally and ensures the highest standards of food safety.
Troubleshoot Common Issues
Cloudy residue on components after washing typically indicates hard water mineral deposits or inadequate rinsing. Address this by rewashing affected parts with a vinegar solution—one part vinegar to three parts water—then rinsing thoroughly under running water. If cloudiness persists, the dishwasher’s rinse aid dispenser may be empty, or you might need to switch to hand washing with distilled water for the final rinse. Persistent food odors despite regular cleaning often stem from bacteria trapped in microscopic scratches on plastic surfaces or within rubber seals. Disassemble the unit completely and inspect all gaskets and seals for hidden residue. Soak odorous parts overnight in a solution of warm water with two tablespoons of baking soda, then scrub with a dedicated brush. For severe cases, fill containers with crumpled newspaper and seal overnight, as paper absorbs trapped smells effectively.


When the steaming function weakens or stops working properly, mineral buildup on the heating element is usually responsible. Perform an intensive descaling by running three consecutive vinegar-water cycles instead of one, allowing each to sit for thirty minutes before draining. If performance doesn’t improve, remove the water reservoir and check the intake valve for debris blockage. Mold appearing despite regular cleaning indicates components aren’t drying completely between uses. Always store your baby food maker disassembled with all parts separated to promote air circulation. Position the bowl and lid upside down on a drying rack rather than reassembling while damp. Consider running a small fan near drying components in humid climates. Discoloration that resists baking soda treatment may require a specialized plastic cleaner, but ensure any product used is food-safe and rinses completely. If blades become dull or damaged during cleaning, contact the manufacturer for replacement parts rather than attempting to sharpen them, as uneven blades compromise both safety and blending efficiency. Many brands like Grownsy offer readily available replacement components to keep your device functioning safely without needing to purchase an entirely new unit.
Maintaining Your Baby Food Preparation Tools
Maintaining a clean baby food maker doesn’t require excessive effort when you establish consistent routines and address issues promptly. Daily rinsing and washing after each use prevents the buildup that leads to stubborn stains and odors, while monthly deep cleaning with vinegar and baking soda keeps mineral deposits and bacteria at bay. Remember that thorough drying is just as important as washing—storing components separately and allowing complete air circulation prevents mold growth that compromises both hygiene and your device’s functionality. When problems arise, simple solutions like vinegar descaling, baking soda paste treatments, and proper inspection of seals typically resolve most issues without professional intervention. By investing just a few minutes in proper cleaning after each meal preparation, you protect your baby from harmful bacteria while ensuring your appliance continues performing reliably for years. A well-maintained baby food maker means less stress, safer meals, and more time focusing on what matters most—nourishing your growing child with fresh, homemade food. Keep these techniques handy, stay consistent with your cleaning schedule, and you’ll find that maintaining this essential make baby food utensils becomes second nature.