A fuse tap, also known as an add-a-circuit, is a clever little device that lets you safely add new electronics to your car without messing with the factory wiring. Imagine you want to install a dash cam or a new stereo but dread the thought of wires everywhere—this is where a fuse tap comes into play.
- What is a Fuse Tap?
- Benefits of Using a Fuse Tap
- Common Applications of Fuse Taps
- Step-by-Step Guide on Installing a Fuse Tap
- Troubleshooting common issues with fuse taps
- 1. Accessory Not Working:
- 2. Intermittent Power to the Accessory:
- 3. Electrical Issues in Other Vehicle Systems:
- 4. Vehicle Battery Drains:
- Conclusion
It slots into your existing fuse box, piggybacking off a fuse that’s already being used, which means you don’t have to cut any wires. Using a fuse tap is like finding an extra plug in a full power strip, giving your new gadgets a direct line to the power source without any fuss. This introduction to fuse taps will lay down the basics, ensuring you understand their function and importance.
What is a Fuse Tap?
A fuse tap is a small, specialized connector that allows you to power additional accessories in your vehicle directly from the fuse box. Essentially, it’s a way to branch off from an existing circuit to use the same power source without disrupting the original wiring or overloading the system.
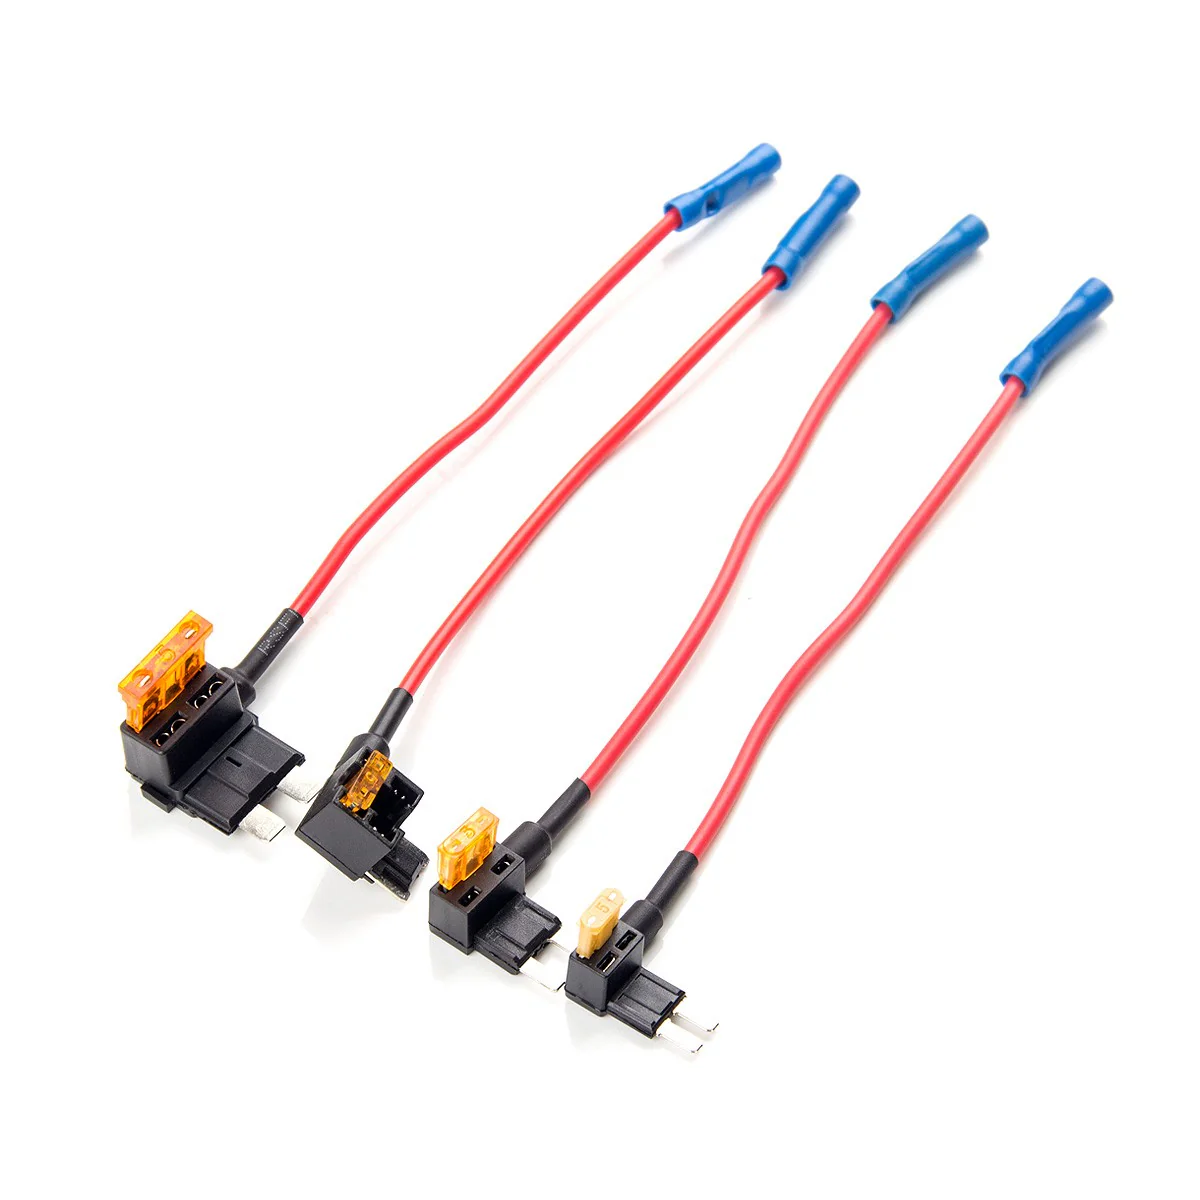
There are several different types of fuse tap to accommodate various needs and vehicle setups. The most common types include mini, micro, and ATO (standard) fuse taps, each designed to fit specific fuse sizes and types found in modern vehicles. Whether you’re adding a GPS, dash cam, or extra lights, there’s a fuse tap that matches your requirements.
Benefits of Using a Fuse Tap
Using a fuse tap in vehicle electrical systems brings numerous advantages that enhance both functionality and safety. The primary benefit is the ability to add extra electronic devices without altering or damaging the original wiring system. This is especially beneficial for leased vehicles where modifications can lead to issues with warranties or lease returns.
Fuse taps are also incredibly cost-effective. They eliminate the need for expensive wiring services or the purchase of additional hardware to safely connect extra devices to your vehicle’s power system. By using a fuse tap, you essentially create a new circuit at a fraction of the cost of traditional methods.
Moreover, the ease of installation is a significant advantage. Even those with minimal technical knowledge can install a fuse tap. It’s as simple as locating the right fuse, inserting the fuse tap, and connecting it to your new accessory. This DIY-friendly process can be completed in just a few minutes, saving time and labor costs. Such practicality makes fuse taps a go-to choice for quick upgrades and enhancements to your vehicle’s electronic capabilities.
Common Applications of Fuse Taps
Fuse taps are incredibly versatile, making them popular in automotive contexts for powering a variety of accessories. One common application is the installation of dash cams, which are crucial for recording incidents while driving. By using a fuse tap, the dash cam can operate seamlessly with the vehicle’s ignition, turning on and off with the car, thus saving the vehicle’s battery life.


Similarly, fuse taps are used to add or upgrade stereo systems without disturbing the factory wiring setup. This allows for enhancements like better sound systems, which can be tailored to an individual’s preference without the risk of electrical issues that can come from improper direct wiring.
Step-by-Step Guide on Installing a Fuse Tap
Installing a fuse tap is a straightforward process, but it requires careful attention to ensure safety and functionality. Here’s a detailed guide to help you through the installation process:
Tools and Materials Needed:
- Fuse tap kit suitable for your vehicle’s fuse type (mini, micro, ATO, etc.)
- Replacement fuses (appropriate amperage)
- Wire crimper/stripper
- Electrical tape or heat shrink tubing
- Test light or multimeter
- Screwdriver
Installation Steps:
- Identify the Correct Fuse: Use your vehicle’s manual to find the fuse box and select a fuse that is switched on with the ignition (for devices that shouldn’t operate continuously) or a constant source fuse (for devices that may run without the ignition on). A test light or multimeter can help verify your choice.
- Prepare the Fuse Tap: Remove the selected fuse from the fuse box and insert it into the installation slot on the fuse tap. Ensure that the new fuse you add to the fuse tap is of the correct amperage for the new accessory.
- Attach the Accessory’s Wire: Strip the end of the accessory’s power wire and connect it to the fuse tap’s lead. Use the crimper to secure the connection and cover it with electrical tape or heat shrink tubing for safety.
- Install the Fuse Tap: Insert the fuse tap into the slot where you removed the original fuse. It should fit snugly without any force.
- Check the Installation: Before reassembling everything, start your vehicle and use the test light or multimeter to check both the original and new circuit for proper power. Ensure that both the original device and the new accessory are functioning correctly.
- Secure and Clean Up: Once you confirm that everything is working as expected, secure any loose wires with cable ties and ensure the fuse box cover fits back into place without pinching or crushing any wires.
Troubleshooting common issues with fuse taps
Troubleshooting common issues with fuse taps often involves simple checks and adjustments:
1. Accessory Not Working:
- Check the Fuse: Make sure neither the original nor the new fuse in the fuse tap is blown.
- Secure Connections: Confirm that the fuse tap is fully seated and the wire connections are tight.
2. Intermittent Power to the Accessory:
- Inspect for Loose Fit: Ensure the fuse tap fits snugly without wiggling.
- Examine Wire Integrity: Check for any breaks or frays in the connected wire.
3. Electrical Issues in Other Vehicle Systems:
- Reevaluate Fuse Selection: Switch to a different fuse if other systems are affected, ensuring it can handle the additional load.
- Check for Overloading: Verify that the total amperage does not exceed the circuit’s capacity.
4. Vehicle Battery Drains:
- Verify Switched vs. Constant Power: Connect the fuse tap to a circuit that turns off with the ignition to avoid draining the battery.
Addressing these issues promptly helps maintain both the functionality and safety of your vehicle’s electrical system.
Conclusion
In conclusion, understanding and utilizing a fuse tap can significantly enhance your vehicle’s electrical capabilities by allowing the safe and efficient integration of additional accessories. Whether you’re installing a dash cam, upgrading your stereo, or adding other electronic devices, fuse taps offer a straightforward, cost-effective solution without the need for invasive wiring changes.